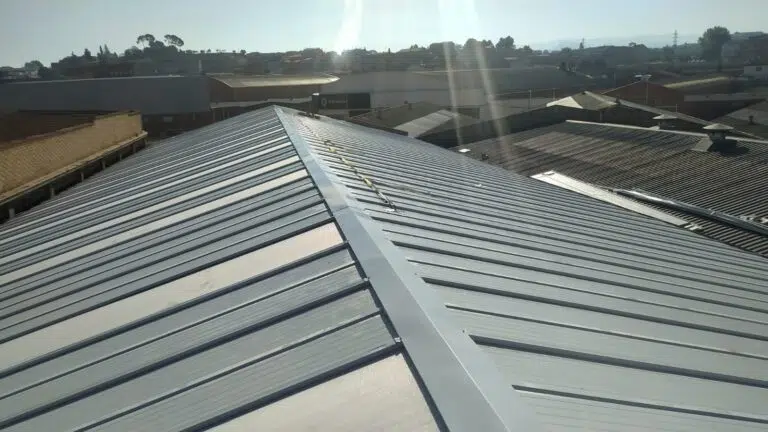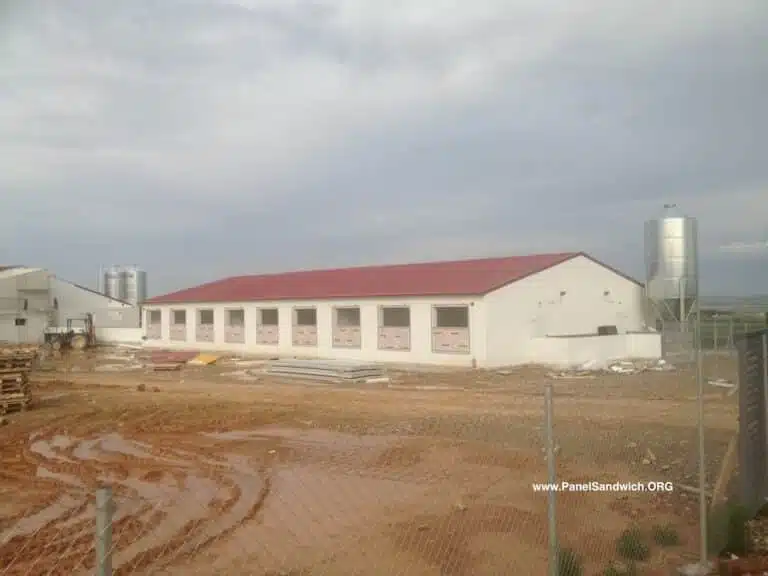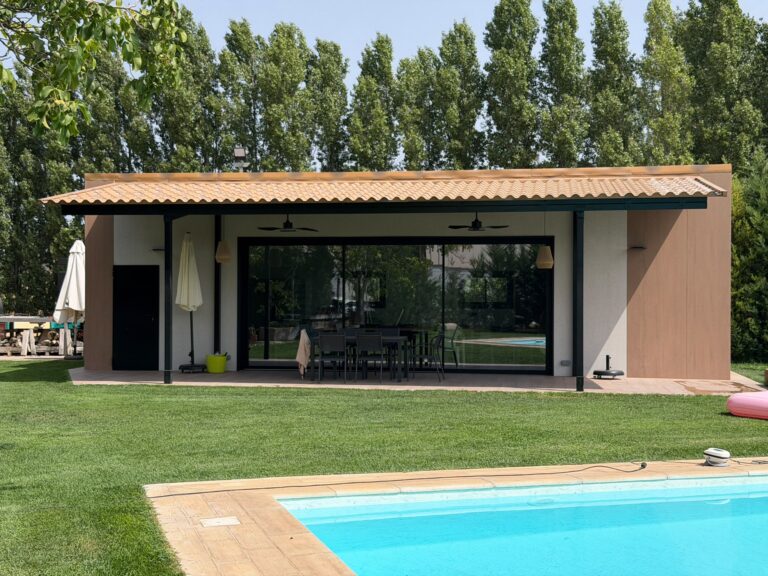
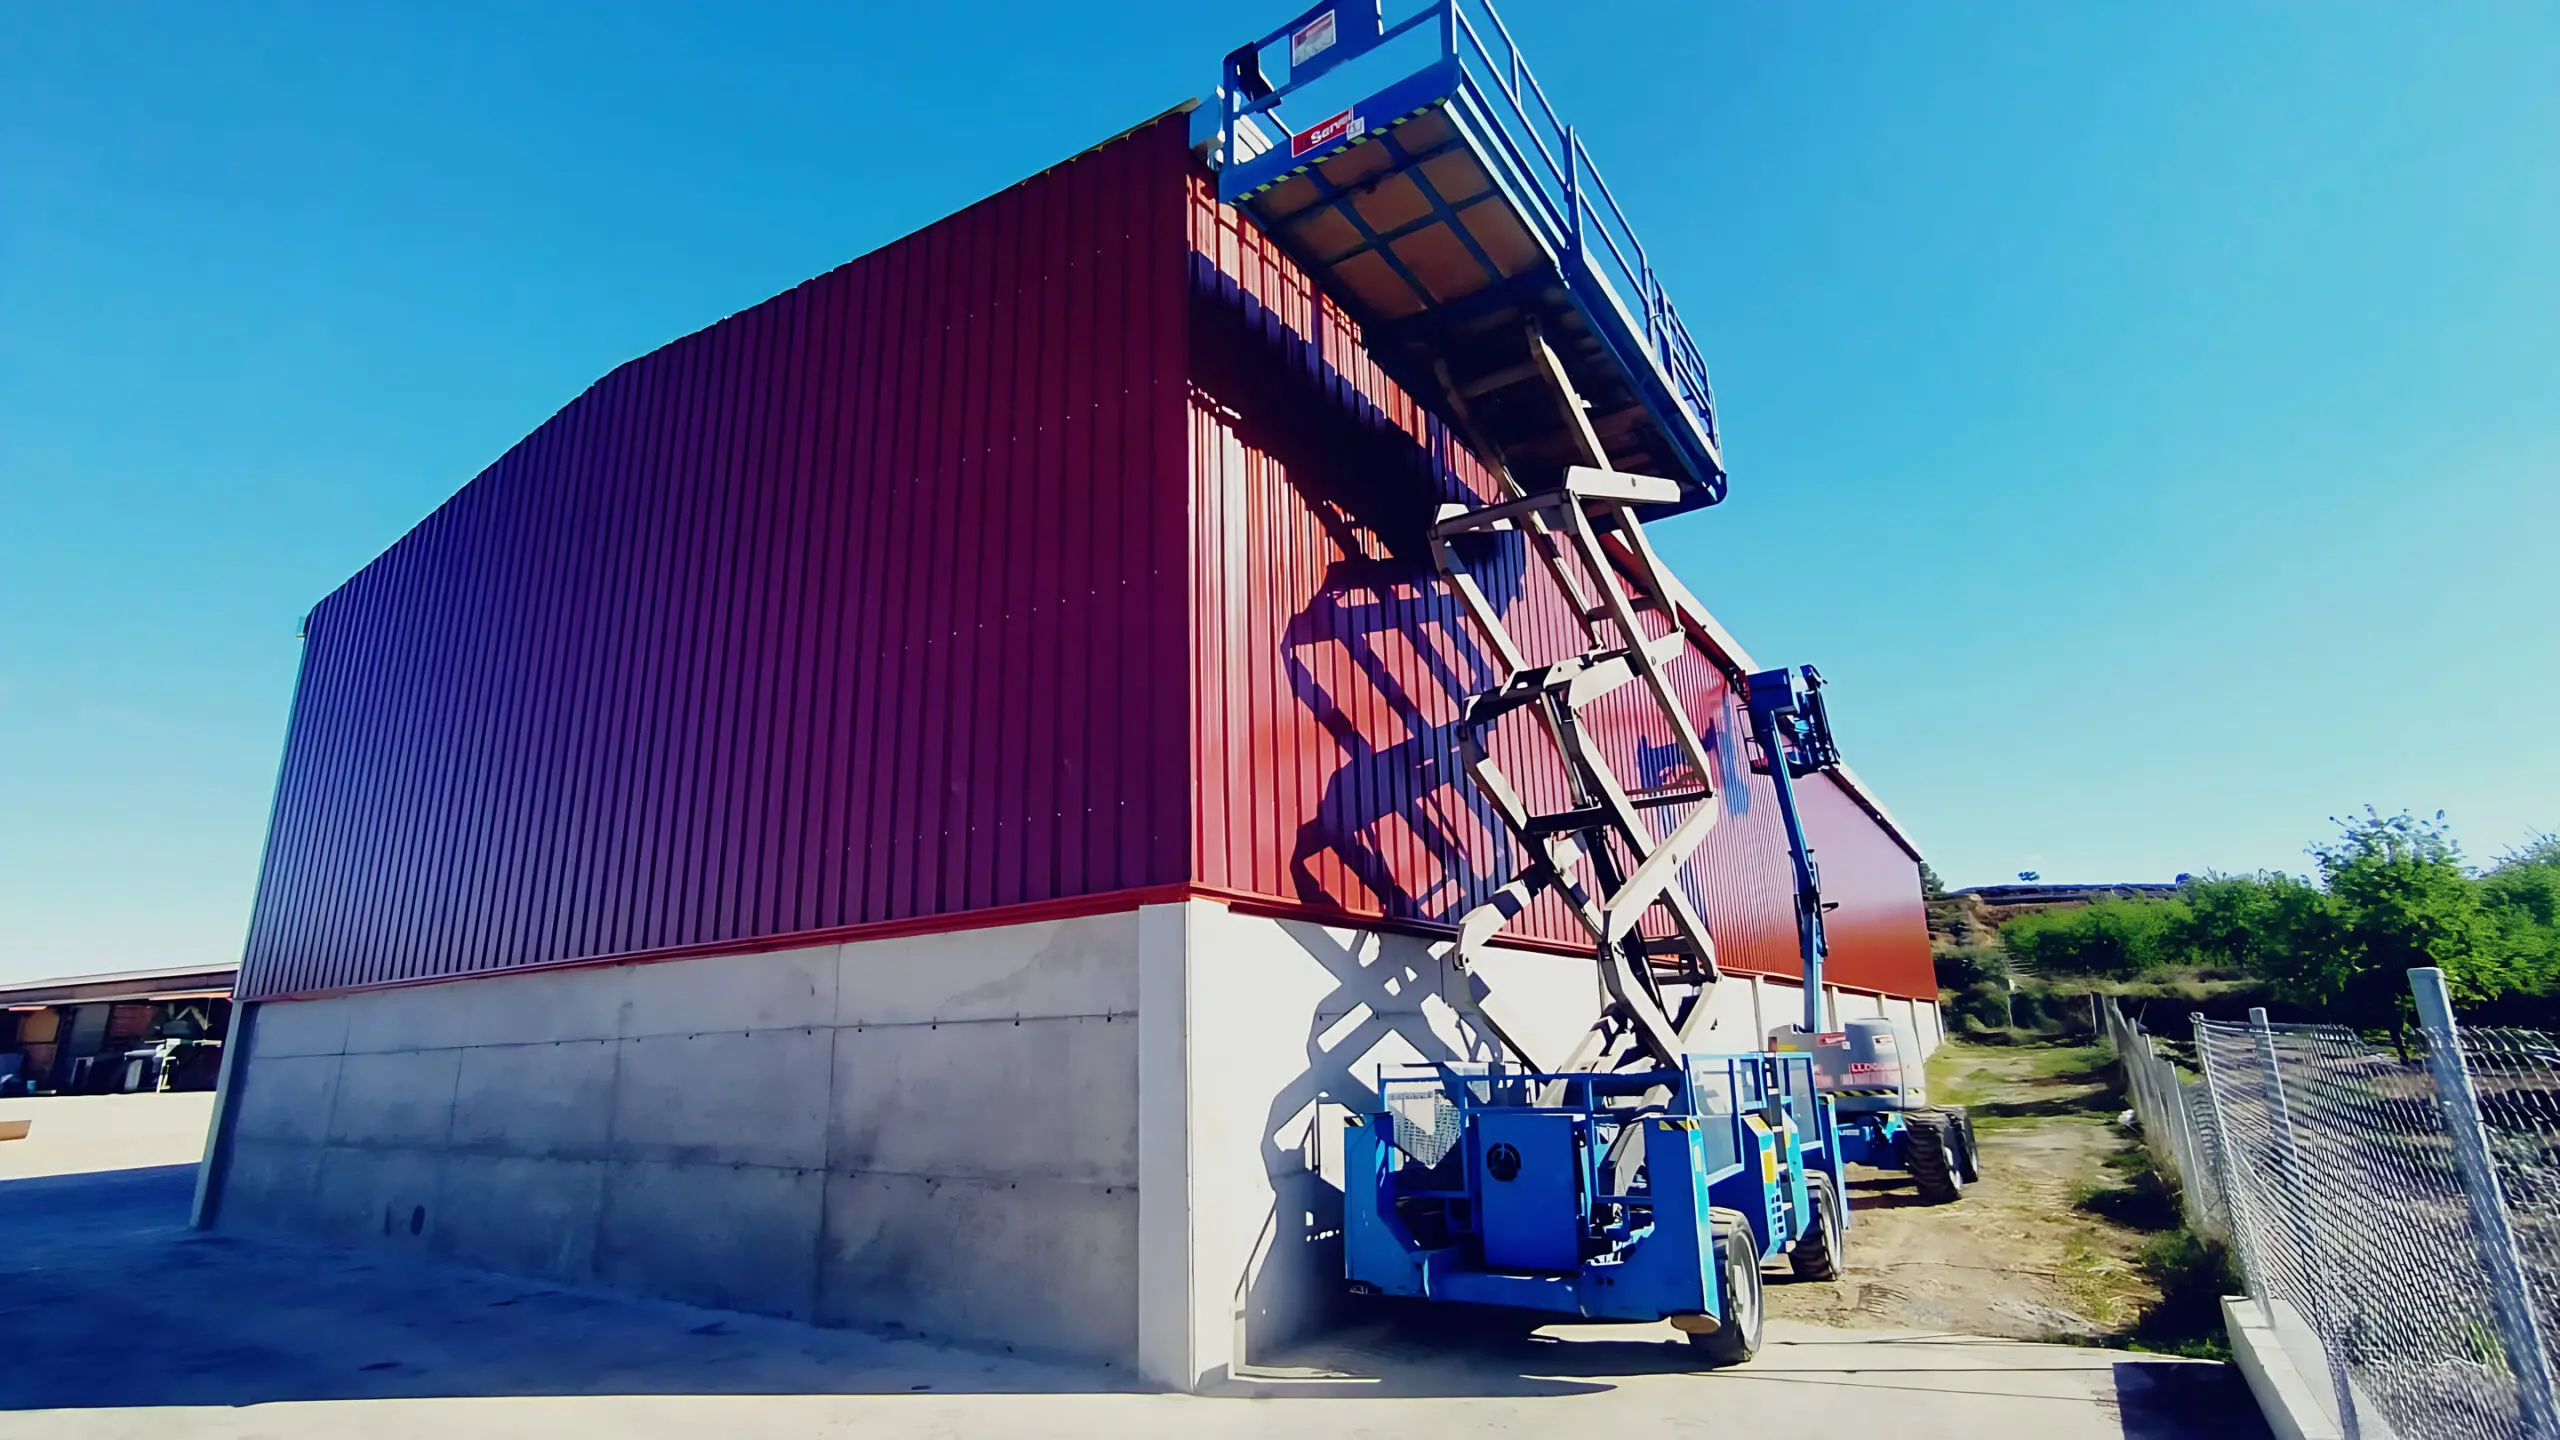
A garden shed, garage or outbuilding built with sandwich panels goes up in just a few days, insulates against both cold and heat, and doesn’t require wet trades. The usual approach is a lightweight structure (steel or timber), roof panel on the roof and facade panel on the walls. Here’s which panel to use for each part, what sizes are typical, and what to check before you start.
Which panel to use for each part
Sizes and structure
- Panel length: panels are cut to size, so ask for the exact length of each roof slope, including the overhang. For small projects, using a single panel per slope avoids overlaps.
- Minimum slope: 5% with ribbed panel and between 7 and 10% with tile-effect panel.
- Purlins: these are usually spaced between 1 and 1.5 m apart, depending on the panel thickness. We explain this in the structure guide.
- Bolted steel structure: if you’d rather not weld, StarModul makes garages, canopies and porches with bolted connectors and ready-to-assemble kits.
To find out how many panels, purlins and screws you need, use the sandwich panel calculator.
Step by step
- Check the regulations. Before building, check with your local council what permit you need for a shed or garage on your property.
- Prepare the base. A level slab or levelled footings to anchor the structure to.
- Assemble the structure, spacing the purlins according to the panel you’ve chosen.
- Install the roof, starting from the side opposite the prevailing wind, with the screws placed in the high rib.
- Install the walls, starting from a corner and making sure the first panel is properly plumb. We cover this in how to install sandwich panel on walls.
- Finish with the trims for the ridge, sides and corners, and seal the joints.
Frequently asked questions
What panel thickness do I need for a shed?
For an unheated shed or outbuilding, a 30 to 40 mm panel is usually enough. If you’re going to use it as a workshop or studio with heating or air conditioning, it’s worth going up to 50–80 mm.
Can a garage be built with sandwich panel alone?
The panel closes off the roof and walls, but it needs a structure to support it: steel sections, timber or a bolted structure like those from StarModul. The panel is screwed onto that structure.
Do I need a permit for a sandwich panel shed?
It depends on the municipality and the size. Check with your local council before starting: in many cases, a prior notification or a minor works licence is enough.
Where can I buy panel for a small shed?
For a few pieces in standard sizes, a large home improvement store may be enough; if you need exact lengths or matching trims, order them made to measure. We compare the options in sandwich panel at Leroy Merlin, Obramat or made to measure.
We’ll put together a quote covering panel, trims and fixings. Request a quote or call us on 683 442 608.