973 228 164 · 699 147 762

Support Phone Number

Made to measure

Technical advice

Delivery to site

Specialist installation

SANDWICH PANEL · CONFIGURATION AND QUOTE

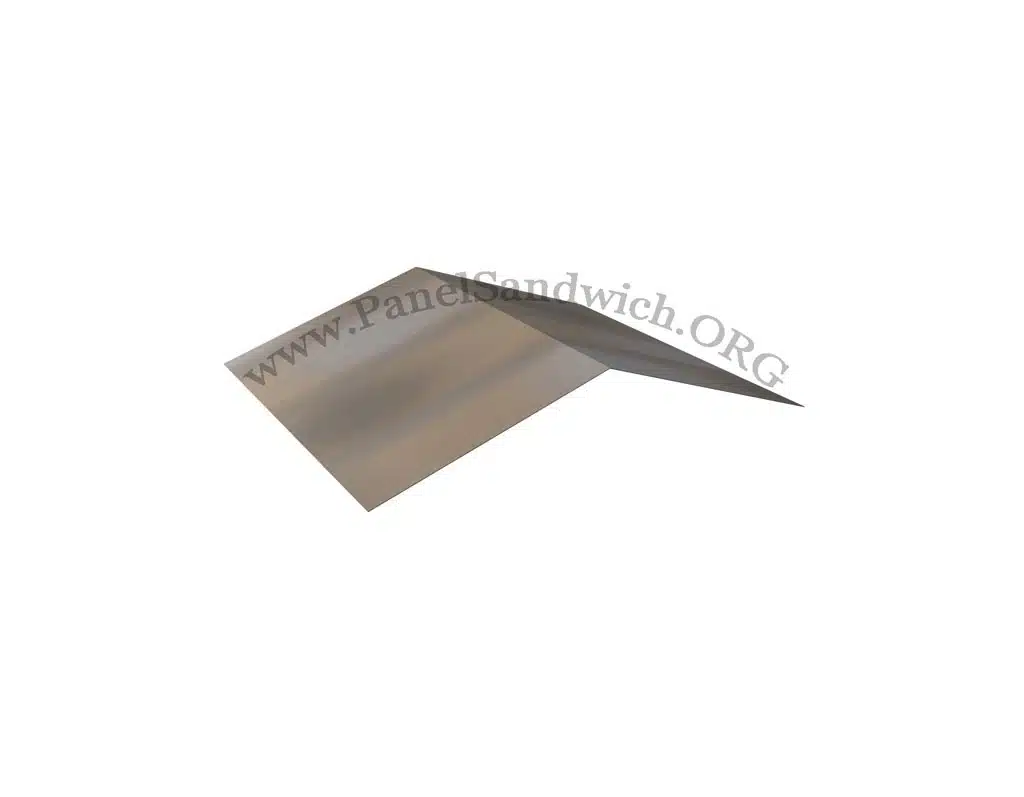
RA1016 – Smooth Ridge Flashing

Configure your panel

Select the available options. We will prepare the price based on dimensions, quantity, transport and installation.

PERSONALISED QUOTE

Request a price for this product

Tell us the panel type, area, thickness, location and whether you need supply only or installation. We’ll review the details to prepare a tailored proposal.

QUICK REQUEST

Tell us what you need

Complete the main details and we will prepare a proposal tailored to your project.

Description: RA1016 – Smooth Ridge Flashing

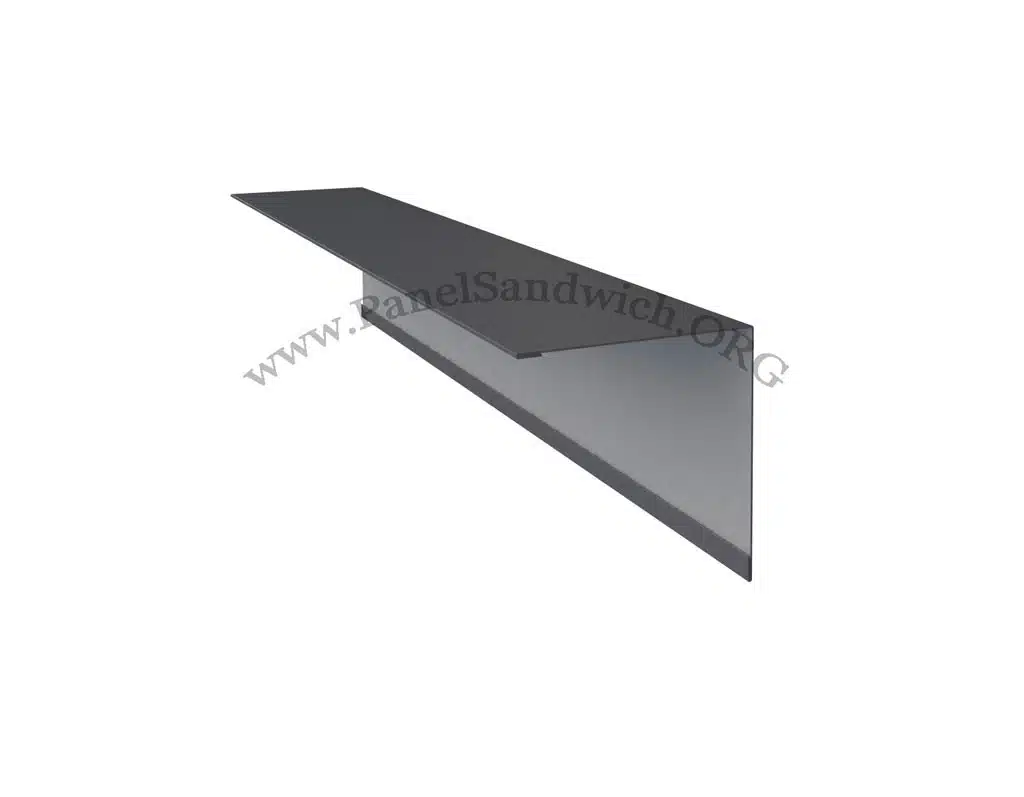
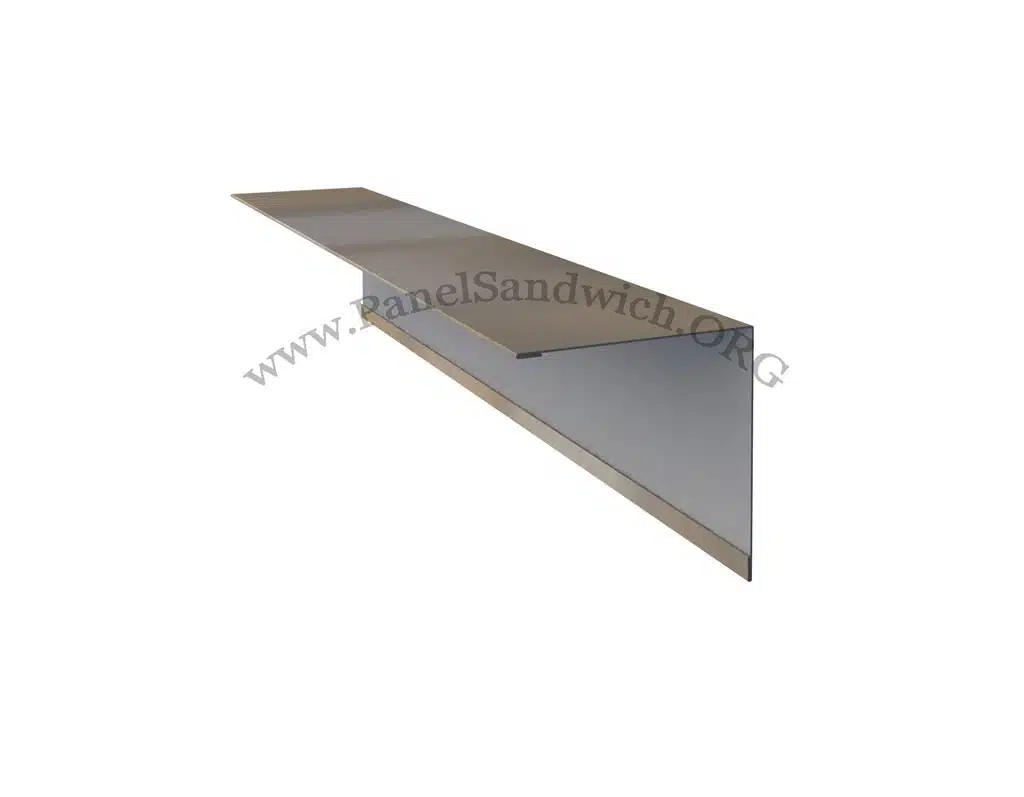
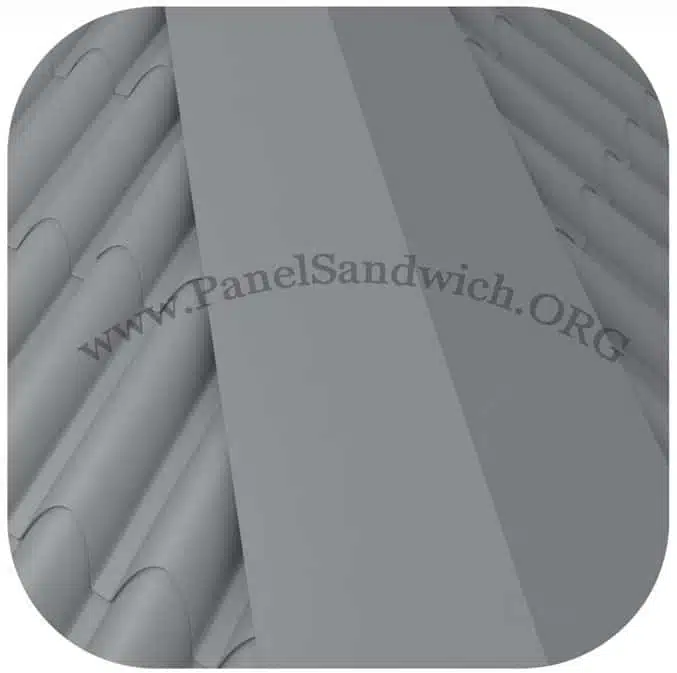
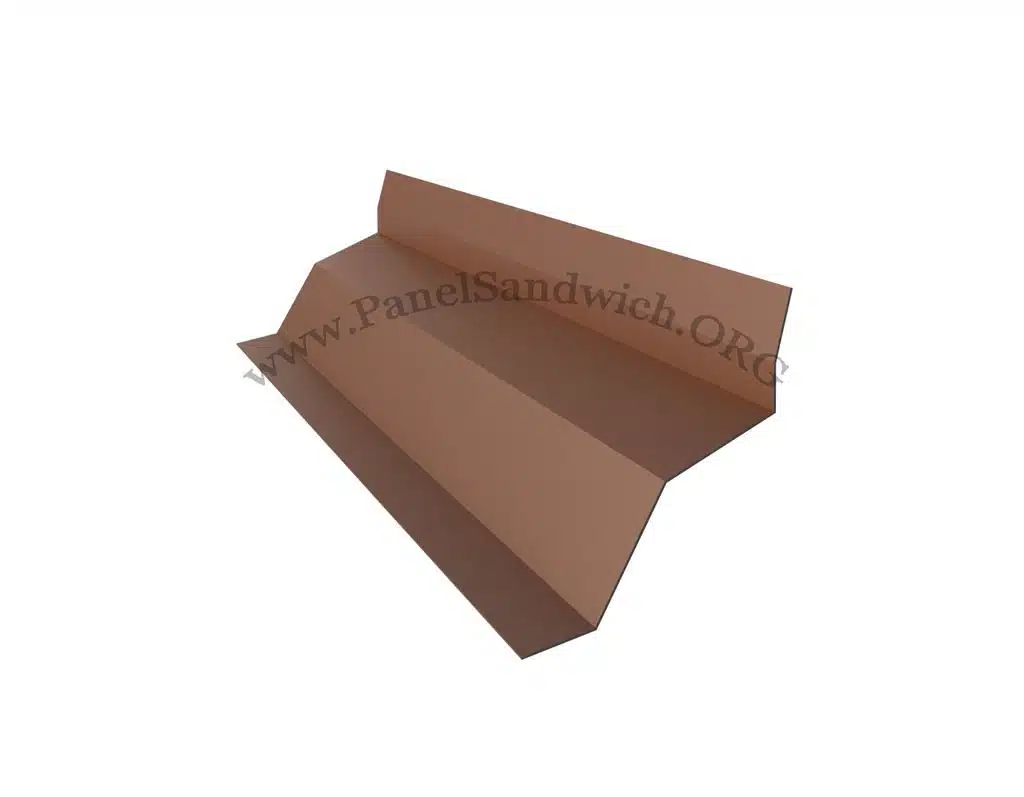
The RA1016 is a smooth ridge flashing for aged ochre tile-effect sandwich panels. It closes the ridge of the roof with a folded sheet without die-cut edges. Because it is smooth, it works for several joints: ridges, hips, valleys and changes of pitch.

It comes in the same colour as the tile-effect panel, so the flashing goes unnoticed and the roof keeps its tiled look.

Characteristics

ReferenceRA1016
TypeSmooth ridge flashing
Where it is usedRidges, hips, valleys and other joints between slopes.
PanelAged ochre tile-effect sandwich panels
MaterialPre-painted galvanised steel sheet
Thickness0.50 mm
ColourAged ochre, matching the aged ochre tile-effect panel
Piece length3 m
SoldBy the linear metre
AvailabilityIn stock in our warehouse.
FixingFlashing screws
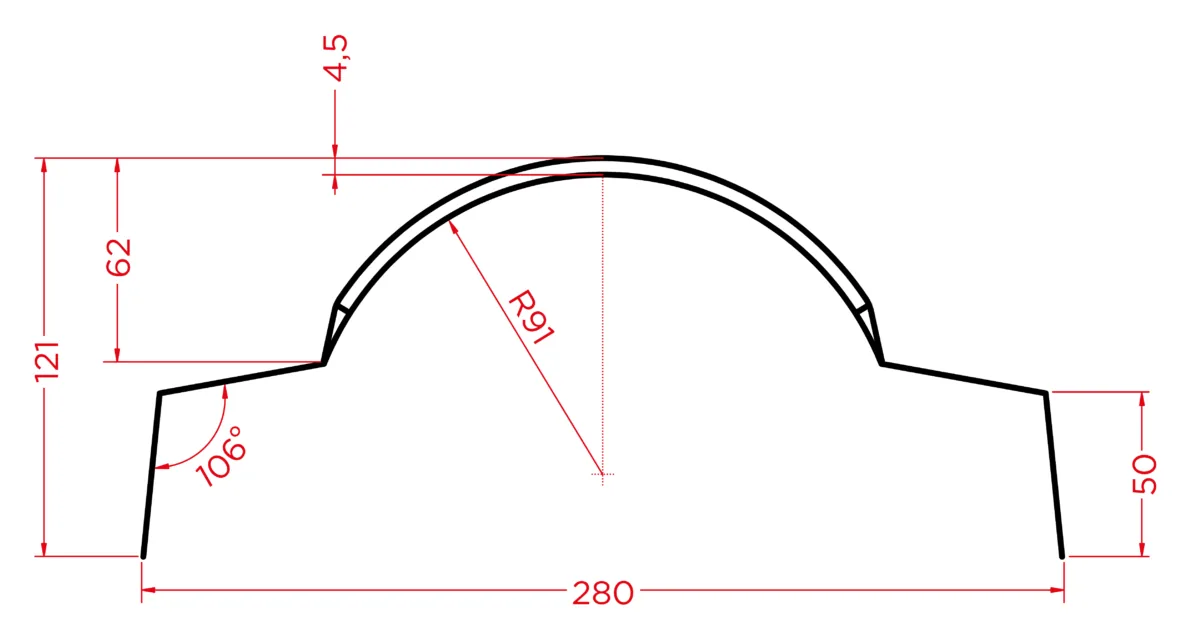
Smooth ridge flashing (ref. RA1016): dimensioned cross-section for tile-effect sandwich panels in aged ochre
Curved ridge flashing cross-section. Dimensions in mm.

How to install it

  1. Close the gaps between the ribs at the ridge with foam fillers or sealant.
  2. Place the first piece at one end, resting on the crowns of the ribs of both slopes.
  3. Overlap the pieces by about 10 cm, with the laps facing away from the prevailing wind, and seal the overlap with a bead of sealant or with butyl tape.
  4. Fix the ridge with flashing screws on the crowns of the ribs, on both sides.

Installation tips

  • Do not skip closing the ribs: without it, wind drives rain and snow through the gaps under the ridge.
  • In valleys the flashing collects water from two slopes: make generous overlaps and seal them well.
  • Cut the sheet with snips or a fine-tooth saw, never with an angle grinder: the sparks burn the paint and the sheet ends up rusting.

How many pieces do you need?

Measure the total length of the joint you need to cover, in metres. Each piece is 3 m long and overlaps the next one by about 10 cm, so it covers about 2.9 m. Divide the length by 2.9 and round up. For example, for 12 m you need 12 ÷ 2.9 = 4.1, that is, 5 pieces.

Made-to-measure flashings

If your project needs a different girth, another colour or a special fold, we make the flashing to measure. Send us a sketch with the dimensions and we will prepare a quote.

Frequently asked questions

What are a hip and a valley?

A hip is the projecting edge where two slopes meet, like a sloping ridge. A valley is the sunken, V-shaped joint where the water from both slopes runs.

Why choose the smooth ridge over the die-cut one?

Because it works with any panel profile and for joints other than the ridge. In exchange, the gaps between the ribs have to be closed separately.

See also ridge flashings for sandwich panels and all sandwich panel flashings. Need a price? Ask for a quote or call us on +34 699 147 762 · WhatsApp.
ON-SITE SERVICE

Specialist team for sandwich panel installation

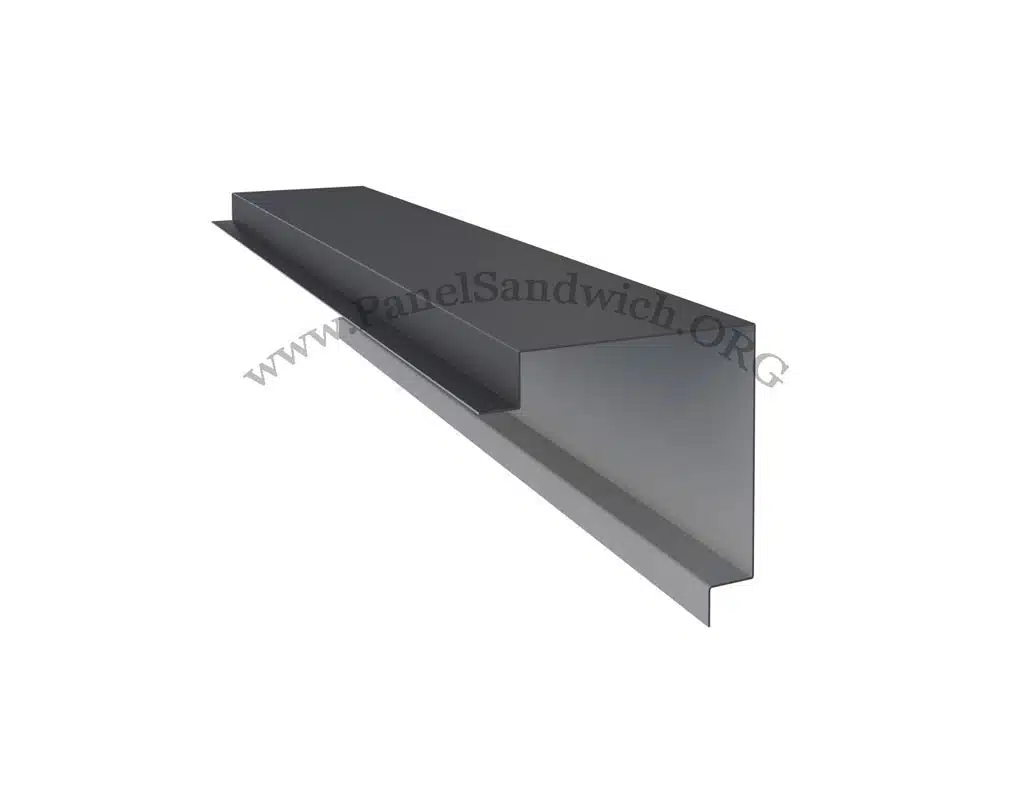
We quote for new builds, refurbishment, roof and facade replacement, flashing installation, and work with sheet metal or skylights.

The quote depends on geometry, height, access, auxiliary equipment, location, fixings and junctions the job must resolve.

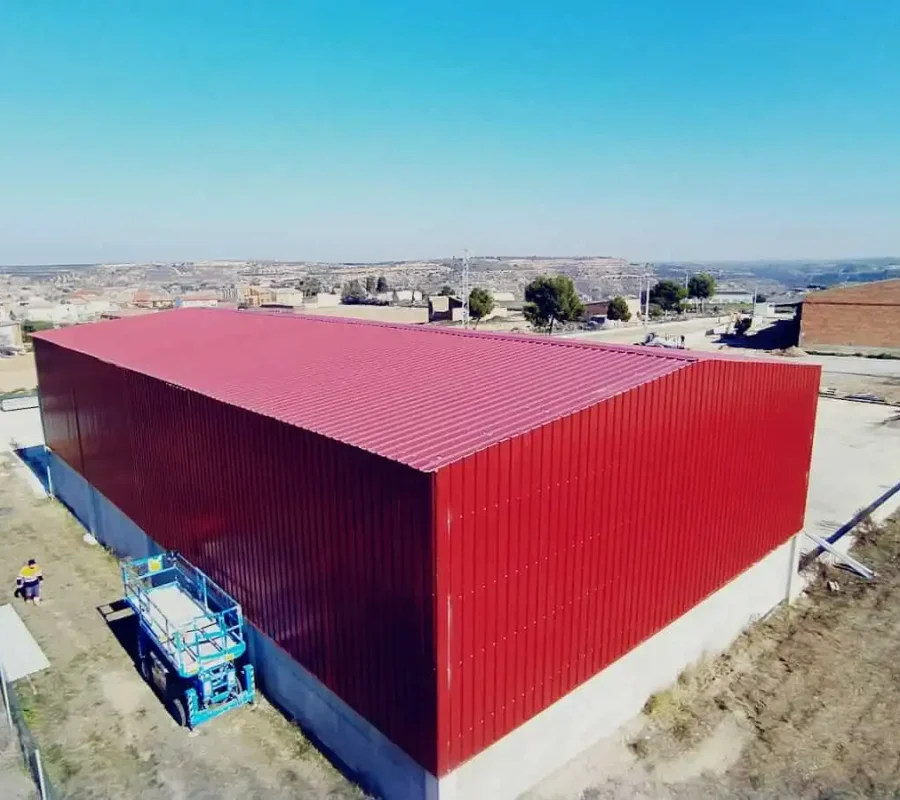
Sandwich panel installation on site