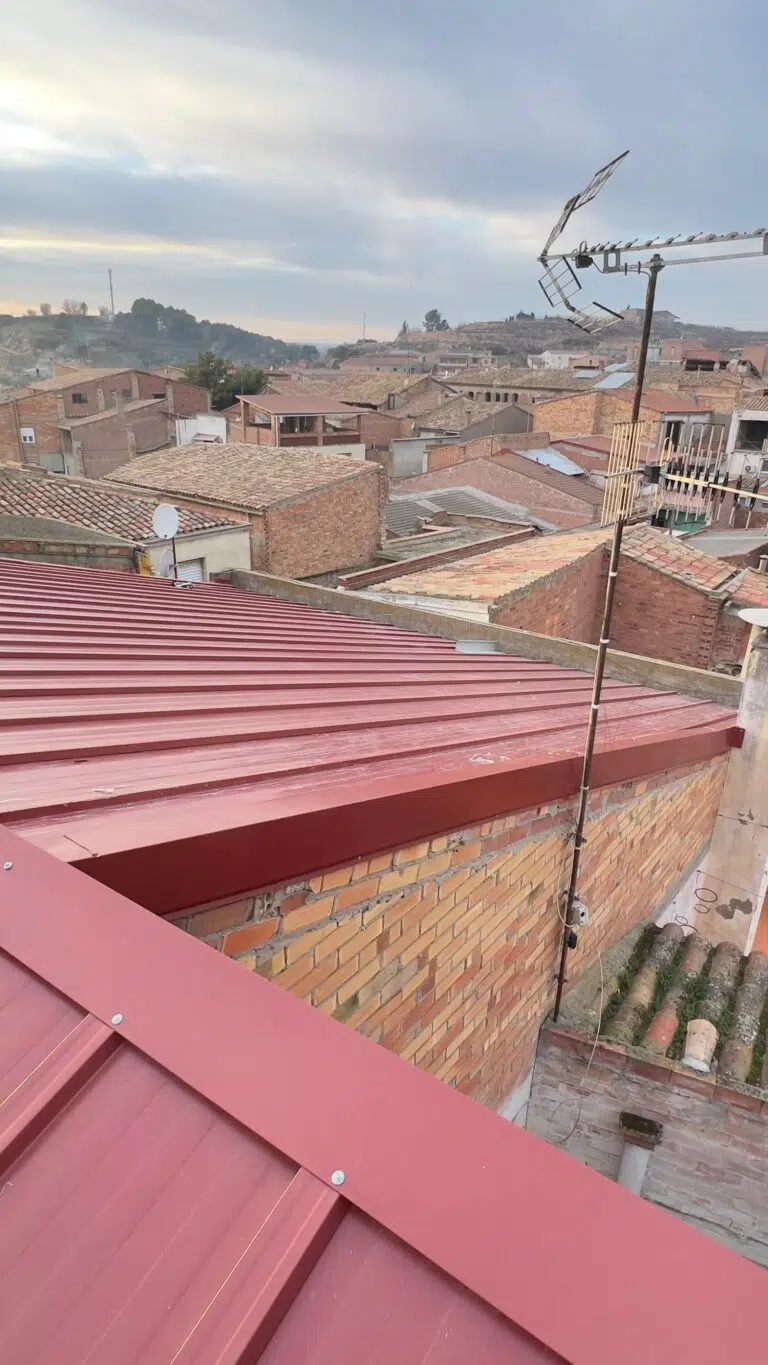
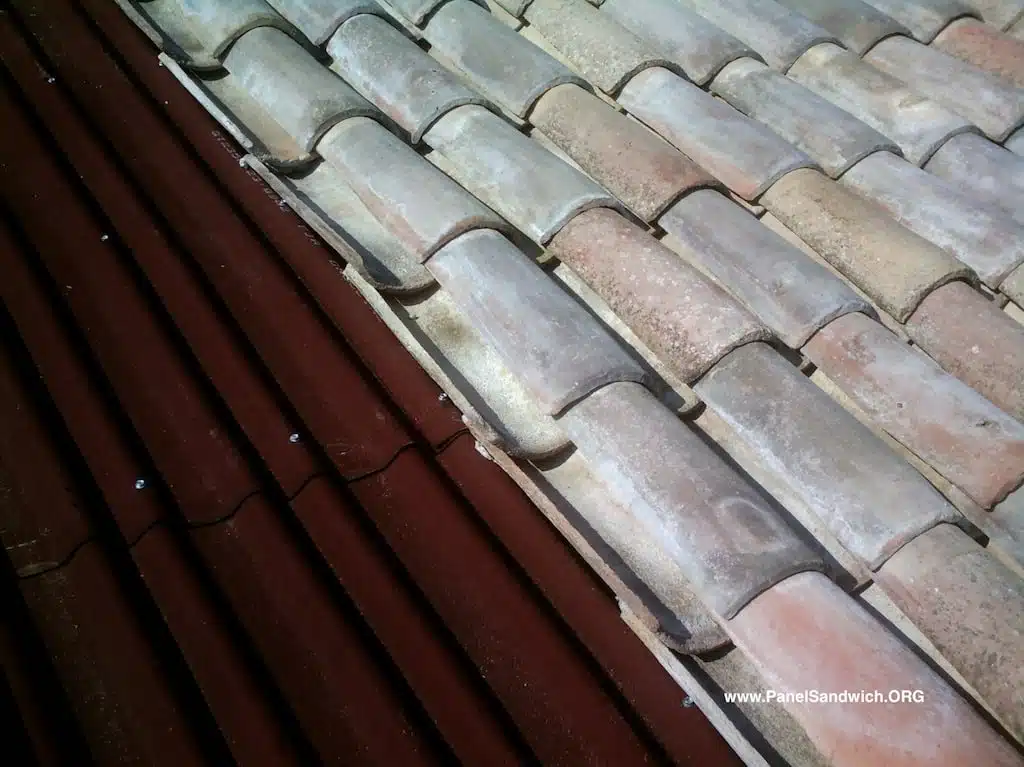
Installing traditional tile over sandwich panel is a way to get a well-insulated ceramic tile roof: the panel acts as the support, insulation and first barrier against water, and the tile is laid on top over battens. It’s mainly used when the local council requires ceramic tile or when you want to reuse old tiles. If you’re not required to use real tile, the tile-effect sandwich panel is cheaper and much lighter.
When it makes sense to install tile over panel
- Local regulations require ceramic tile: historic centres and protected areas.
- Refurbishment: you want to reuse the tiles you already have.
- You want insulation without a deck: the panel replaces the boarding, insulation and waterproof membrane of a traditional roof.
Which panel to use as the support
Typically, a 5-rib roof panel or a flashing panel, 50 to 80 mm for a home. Keep the weight in mind: ceramic tile adds between 40 and 60 kg/m² depending on the model, compared to 8–11 kg/m² for the panel. The structure and purlin spacing must be calculated for that weight plus local snow and wind loads; a technician does that calculation.
Minimum slope
The panel works from a 5% slope, but ceramic tile needs much more: generally from 30% (about 17°), and more with flat tiles. Follow the slope specified by the tile manufacturer and the regulations (CTE DB HS1). Also check the minimum slope for the roof panel.
Step by step
- Structure and purlins. Check they’re aligned and spaced as calculated for the weight of the panel and tile. Guide: structure for sandwich panel.
- Install the panel with its screws, sealing the overlaps. The panel is watertight on its own.
- Fit the battens horizontally, using treated timber or a metal profile, screwed through the panel into the purlins. Spacing depends on the tile length and the overlap specified by the manufacturer.
- Allow ventilation between the panel and the tile: if the battens sit on vertical counter-battens, any water that gets in drains underneath and the timber dries out.
- Fix the tile to the batten: mixed or flat tile with nails or clips; curved tile with spot applications of polyurethane foam for tiles. Never use a continuous layer of mortar over the panel: it’s very heavy and traps moisture.
- Ridge, eaves and sides: first the panel flashings, then the ceramic pieces on top, with ventilation.
Tile over panel vs tile-effect panel
Common mistakes
- Stepping on the panel between purlins when laying the tile: it dents.
- Applying continuous mortar over the panel.
- Not calculating the tile weight in the structure.
- Screws that go through the tile without sealing.
- Forgetting ventilation under the tile and the eaves finishing.
More installation pitfalls in common mistakes when installing sandwich panel.
Frequently asked questions
Can you install tile directly over sandwich panel?
Yes, but on battens, not resting on it or bonded across the whole surface. That way the tile is properly fixed, ventilated, and any water that gets in drains over the panel.
Do you need waterproofing under the tile?
No. A properly installed roof panel, with sealed overlaps and flashings, is already watertight. The tile provides the look and protects the panel from the sun.
Can you reuse old tiles?
Yes, if they’re sound. Discard broken or frost-damaged ones, and keep in mind old tiles usually weigh more because they absorb water.
What panel thickness should I install under the tile?
For a home, 50 to 80 mm depending on the level of insulation you want. We explain it in which sandwich panel thickness to choose.
Tell us the roof measurements, the type of tile and where the job is, and we’ll prepare the panel and flashings. Request a quote or call us on 699 147 762.